Introduction
Starting your Traeger grill correctly is crucial to ensure a successful cooking experience. Incorrectly starting your grill can result in temperature swings, flame-outs, and other issues that can affect the quality of your food. This guide will provide an overview of How to Start Traeger Grill and offer tips for using your Traeger grill effectively.
Why Starting Your Traeger Grill Correctly Is Important
Starting your Traeger grill correctly is essential for several reasons. Firstly, it ensures that your grill reaches and maintains the desired temperature consistently throughout the cooking process. This is crucial for achieving perfectly cooked food every time.
Secondly, a proper startup process helps prevent temperature swings, leading to uneven cooking and inconsistent results. By following the correct startup procedure, you can avoid fluctuations in temperature and maintain a stable cooking environment.
Additionally, starting your Traeger grill correctly helps prevent flame-outs. Flame-outs occur when the fire in the grill is extinguished, causing the temperature to drop. This can result in undercooked or spoiled food. Following the recommended startup process can minimize flame-outs risk and ensure a smooth cooking experience.
Overview Of How to Start Traeger Grill
Follow these steps to learn How to Start Traeger Grill:
- Open-Lid Startup: Ensure all the internal grill components, such as the heat baffle, drip tray, and grill grates, are inside the grill. Keep the lid open during the startup process.
- Ensure Pellets in the Hopper: Check enough wood pellets in the hopper to last throughout your cooking session.
- Plug in and Turn on the Grill: Plug in your Traeger grill and flip the power switch on the controller’s front to the ON position.
- Set the Temperature: Use the temperature dial to set your desired cooking temperature. Wait for the grill to reach this temperature before placing your food on the grill.
- Preheat the Grill: It is recommended to wait at least 10 minutes for the grill to preheat before putting any food on the grates. This allows the grill to reach and stabilize at the desired temperature.
By following these steps, you can ensure a smooth and consistent startup process for your Traeger grill. This will help you achieve optimal cooking results and enjoy the full potential of your grill.
Remember, each Traeger model may have specific startup instructions, so it’s always best to consult your grill’s user manual for detailed guidance.
In conclusion, starting your Traeger grill correctly is essential for a successful cooking experience. By following the right startup process, you can maintain a consistent temperature, avoid flame-outs, and achieve perfectly cooked food. Take the time to familiarize yourself with the specific startup instructions for your Traeger model and enjoy the versatility and convenience of cooking with a Traeger grill.

Starting Traeger With An Open Lid
Starting your Traeger grill with an open lid is one of the ways to ensure a successful cooking experience. This method is suitable for models with certain types of controllers. To start your Traeger grill with an open lid, follow the step-by-step guide below:
How to Start Traeger Grill For Open-lid Startup
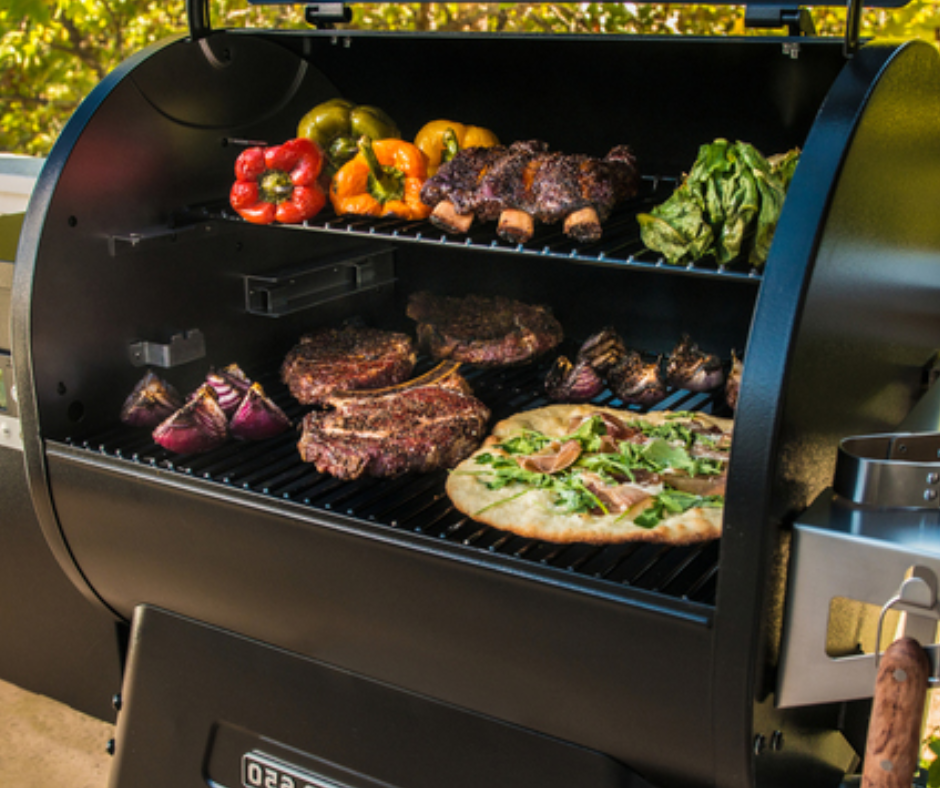
- Ensure all the internal grill components, such as the heat baffle, drip tray, and grill grates, are correctly installed inside the grill. This ensures proper airflow and even heat distribution during the cooking process.
- Ensure enough wood pellets are in the hopper throughout your cooking session. The hopper is where the pellets are stored and fed into the firepot.
- Plug in your Traeger grill and locate the power switch on the front of the controller. Flip the power switch to the ON position. This will activate the grill’s electrical system.
- Set the temperature dial to your desired cooking temperature. The temperature dial allows you to control the heat output of the grill. It is important to note that Traeger grills operate using indirect heat, so the desired temperature should be set according to the recipe or cooking instructions.
- Once you have set the temperature, wait for the grill to reach the desired temperature before placing your food on the grill. This preheating process usually takes 10 to 15 minutes, depending on the outside temperature and the grill size.
- After the grill has preheated, open up the lid and place your food on the grill grates. Close the lid gently to maintain the temperature and allow the grill to cook your food perfectly.
Ensuring Correct Installation Of Components
To ensure a successful open-lid startup, it is crucial to ensure that all the internal grill components are correctly installed. This includes the heat baffle, drip tray, and grill grates. The heat baffle helps distribute the heat evenly across the cooking surface, while the drip tray catches any excess grease or drippings, preventing flare-ups. The grill grates provide the surface for cooking your food, creating those signature grill marks and allowing for optimal heat transfer.
Properly installing these components ensures optimal heat circulation and efficient cooking on your Traeger grill.
Setting The Temperature Dial
The temperature dial on your Traeger grill allows you to set the desired cooking temperature. Setting the temperature according to the recipe or cooking instructions is essential to achieve the desired results.
When setting the temperature, remember that Traeger grills use indirect heat, which means that the heat is circulated through the food rather than directly underneath it. This cooking method is great for slow cooking, smoking, and roasting, ensuring even and consistent heat distribution.
By setting the temperature dial correctly, you can achieve precise cooking control and create delicious, perfectly cooked meals on your Traeger grill.
In conclusion, starting your Traeger grill with an open lid requires proper installation of internal components and setting the temperature dial correctly. By following the step-by-step guide and ensuring the correct installation of components, you can have a successful open-lid startup and enjoy the versatility and convenience of cooking with a Traeger grill. Remember to consult your grill’s user manual for specific startup instructions based on your Traeger model, and always allow the grill to preheat before placing your food on the grates. Happy grilling!

Starting Traeger With A Closed Lid
Starting your Traeger grill with a closed lid is another method that can be used to ensure a successful cooking experience. This method is suitable for models with certain types of controllers. To start your Traeger grill with a closed lid, follow the step-by-step guide below:
How to Start Traeger Grill For Closed-lid Startup
- Ensure all the internal grill components, such as the heat baffle, drip tray, and grill grates, are correctly installed inside the grill. This ensures proper airflow and even heat distribution during the cooking process.
- Ensure enough wood pellets are in the hopper throughout your cooking session. The hopper is where the pellets are stored and fed into the firepot.
- Plug in your Traeger grill and locate the power switch on the front of the controller. Flip the power switch to the ON position. This will activate the grill’s electrical system.
- Set the temperature dial to your desired cooking temperature. The temperature dial allows you to control the heat output of the grill. It is important to note that Traeger grills operate using indirect heat, so the desired temperature should be set according to the recipe or cooking instructions.
- Once you have set the temperature, close the lid of the grill. This will help retain and distribute the heat evenly throughout the cooking chamber.
- Wait for the grill to reach the desired temperature before placing your food on the grill. This preheating process usually takes 10 to 15 minutes, depending on the outside temperature and the grill size.
- After the grill has preheated, open the lid and place your food on the grill grates. Close the lid gently to maintain the temperature and allow the grill to cook your food perfectly.
Understanding The Ignition Sequence
When starting your Traeger grill with a closed lid, it is important to understand the ignition sequence. Once you have set the temperature and closed the lid, the grill will go through an ignition process to start the fire and heat the grill chamber.
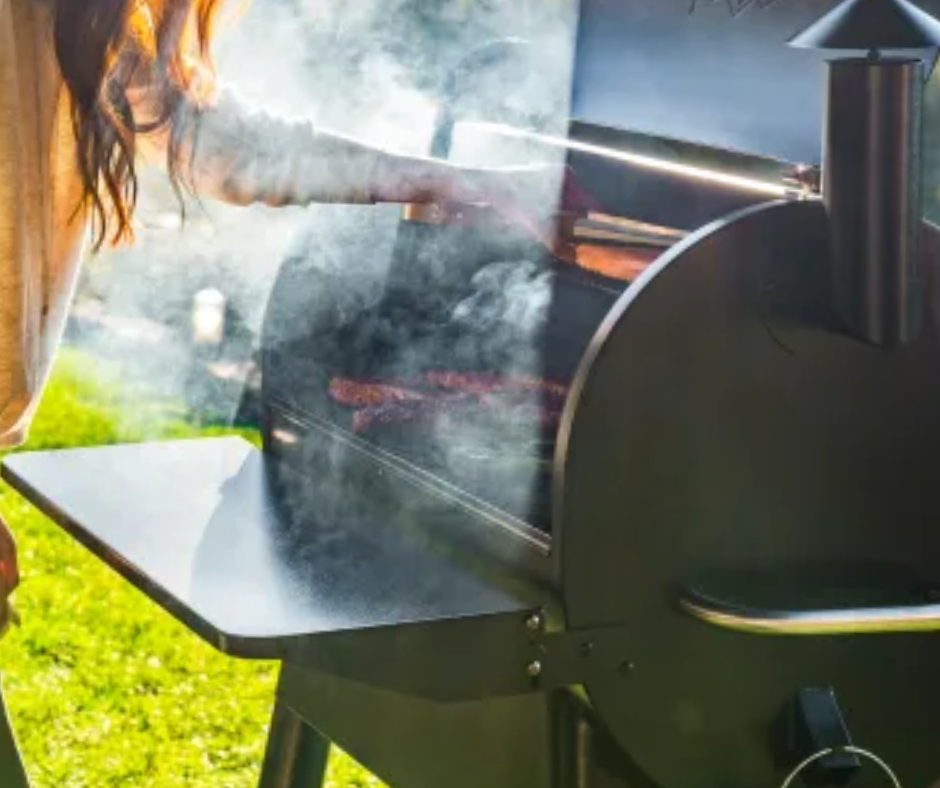
During the ignition sequence, you may hear the fan running as it provides the necessary oxygen for the fire. Additionally, you will soon hear the sound of pellets falling into the firepot, which indicates that the fire is being fueled and maintained.
It is important to allow the ignition sequence to run its course and establish the fire before placing your food on the grill. This will help you achieve consistent and even cooking results.
Monitoring The Preheating Process
As mentioned earlier, preheating is crucial before placing your food on the grill. When starting your Traeger grill with a closed lid, monitoring the temperature and preheating time is essential.
Keep an eye on the temperature dial and wait for it to reach the desired cooking temperature before proceeding. This will ensure that your grill is adequately heated and ready to cook your food efficiently.
During preheating, waiting at least 10 minutes before placing your food on the grill is recommended. This allows the grill to reach a stable temperature and ensures consistent cooking results.
In conclusion, starting your Traeger grill with a closed lid requires installing internal components, setting the temperature dial, and understanding the ignition sequence. Following the step-by-step guide and monitoring the preheating process, you can have a successful closed-lid startup and enjoy the versatility and convenience of cooking with a Traeger grill. Remember to consult your grill’s user manual for specific startup instructions based on your Traeger model, and always allow the grill to preheat before placing your food on the grates. Happy grilling!

Tips For Successful Traeger Grilling
Waiting Times And Temperature Recommendations
When using your Traeger grill, it’s important to consider waiting times and temperature recommendations to achieve the best results. Each recipe may require different cooking times and temperatures, so following the instructions is crucial. Traeger grills operate using indirect heat, which means the desired temperature should be set according to the recipe or cooking instructions.
It’s recommended to preheat your grill for at least 10 minutes before cooking. This allows the grill to reach a stable temperature and ensures consistent cooking results. During this preheating process, monitoring the temperature dial and waiting for it to reach the desired cooking temperature before proceeding is essential.
Common Mistakes To Avoid
To ensure successful Traeger grilling, it’s important to avoid common mistakes that can negatively impact your cooking experience. Here are some mistakes to watch out for when learning How to Start Traeger Grill:
- Neglecting regular cleaning: Clean the grates, drip tray, and heat baffle. Most Traeger grills make this process simple with easy-to-remove parts. This ensures optimal performance and prevents any build-up that can affect the flavor of your food.
- Inadequate pellet storage: Store your wood pellets in a cool, dry place to keep them at their best. Moisture can cause pellets to become less effective and potentially affect the taste of your food.
- Improper installation of internal components: Ensure that the heat baffle, drip tray, and grill grates are correctly installed inside the grill. This guarantees proper airflow and even heat distribution during the cooking process.
- Ignoring the ignition sequence: When starting your Traeger grill with a closed lid, it’s crucial to understand the ignition sequence. Allow the grill to ignite and establish the fire before placing your food on the grill. This will help you achieve consistent and even cooking results.
Maintaining Consistent Heat And Avoiding Temperature Swings
Maintaining consistent heat is key to successful Traeger grilling. Here are some tips to help you achieve this:
- Avoid frequent lid opening: Opening the lid frequently can cause temperature fluctuations and extend the cooking time. It’s best to keep the lid closed as much as possible to maintain a consistent temperature.
- Monitoring the temperature dial: Keep an eye on the dial and adjust if necessary. Traeger grills have a temperature control feature that allows you to increase or decrease the heat output. This helps you maintain the desired temperature throughout the cooking process.
- Using a temperature probe: Invest in a quality temperature probe to accurately monitor the internal temperature of your food. This ensures that your meat reaches the desired doneness without any guesswork.
- Preheating the grill properly: Give your grill enough time to preheat before placing your food on the grates. This ensures the cooking chamber is evenly heated and ready to cook your food efficiently.
In conclusion, successful Traeger grilling requires considering waiting times, following temperature recommendations, avoiding common mistakes, and maintaining consistent heat. By following these tips and paying attention to the details, you can enjoy the versatility and convenience of cooking with your Traeger grill. Consider the user manual specific to your Traeger model for additional guidance, and always prioritize safety during your grilling adventures. Happy grilling!
Conclusion
Now you should know How to Start Traeger Grill. Starting your Traeger grill may seem daunting initially, but it is quite easy once you understand the proper steps. Whether you start with the lid open or closed, following the correct startup process is essential for a successful cooking experience. Igniting your Traeger correctly ensures you avoid temperature swings, flame-outs, and other potential issues affecting your grilling results.
Importance Of Proper Traeger Grill Startup
Proper startup of your Traeger grill is crucial for optimal performance and consistent cooking results. Following the recommended startup process ensures that your grill reaches and maintains the desired temperature, allowing you to cook your food evenly and efficiently. Starting your Traeger correctly also helps prevent potential issues, such as temperature fluctuations, which can affect the taste and texture of your food.
Final Thoughts And Recommendations
To start your Traeger grill, ensure you have pellets in the hopper and that the heat baffle, drip tray, and grill grates are installed correctly. For an open-lid startup, plug in your grill, flip the power switch to the ON position, and set the temperature dial to your desired cooking temperature. You will hear the fan running, indicating that your grill is heating up.
For a closed-lid startup, tap and hold the “PRESS HERE TO IGNITE” button on the touchscreen until the ignition sequence begins. Allow the fire to establish before placing your food on the grill.
To ensure consistent heat and avoid temperature swings, avoid frequent lid opening and monitor the temperature dial. Make adjustments if necessary using the temperature control feature on your Traeger grill. Investing in a quality temperature probe can also help you accurately monitor the internal temperature of your food, ensuring it reaches the desired doneness.
Remember to preheat your grill for at least 10 minutes before cooking to allow it to reach a stable temperature. This helps ensure consistent cooking results and avoids potential issues during grilling.
In conclusion, starting your Traeger grill correctly is essential for a successful grilling experience. By following the recommended startup process and considering the waiting times and temperature recommendations, you can achieve delicious and perfectly cooked meals every time. Proper maintenance, such as regular cleaning and adequate pellet storage, also contributes to the longevity and performance of your Traeger grill. Happy grilling!
FAQ: How to Start Traeger Grill: Tips for Using Your Traeger Grill
Q: How to Start Traeger Grill?
A: There are two ways to start a Traeger grill: with an open or closed lid.
Q: How to Start Traeger Grill with an open lid?
A: Follow these steps for an open-lid start-up:
- Set your Traeger grill to the SMOKE setting with the lid open.
- You will hear the fan running.
- Wait for the fire to ignite and establish, which usually takes about 5 minutes.
- You should hear the sound change from just the fan to the sound of a flame.
Q: What should I do after igniting the grill with the open-lid start-up?
A: Plug in your grill and flip the Power Switch on the controller’s front to the ON position. Then, set the desired temperature by adjusting the temperature dial.
Q: How long should I wait before placing food on the grill?
A: For best results, wait at least 10 minutes after starting the grill before placing food on it.
Q: Is it necessary to preheat the Traeger grill with the lid closed?
A: It is recommended to preheat the Traeger grill with the lid closed for approximately 15 minutes after setting it to the desired temperature.
Q: What precautions should I take while starting the grill?
A: Ensure you have pellets in the hopper and that the Heat Baffle, Drip Tray, and Grill Grates are installed correctly. Also, be aware that some pellets may produce more ash than others, affecting the grill’s performance.
Q: What could go wrong if the grill is not started correctly?
A: If the grill is started incorrectly, you may experience temperature swings, flame-outs, and other issues affecting the cooking process.
Q: How do I start the new Timberlines & Ironwoods Touchscreen WiFIRE-enabled grills?
A: To start these models, ensure the Hopper has pellets and that the Firepot, Heat Shield, EZ Clean Drip Tray, and Grill Grates are installed correctly.
These tips should help you start your Traeger grill properly, ensuring a successful cooking experience. If you have further questions or concerns, don’t hesitate to contact Traeger Grills’ official website or their customer support for assistance.

